Posts tonen met het label Simona Candini. Alle posts tonen

zaterdag 8 juni 2013

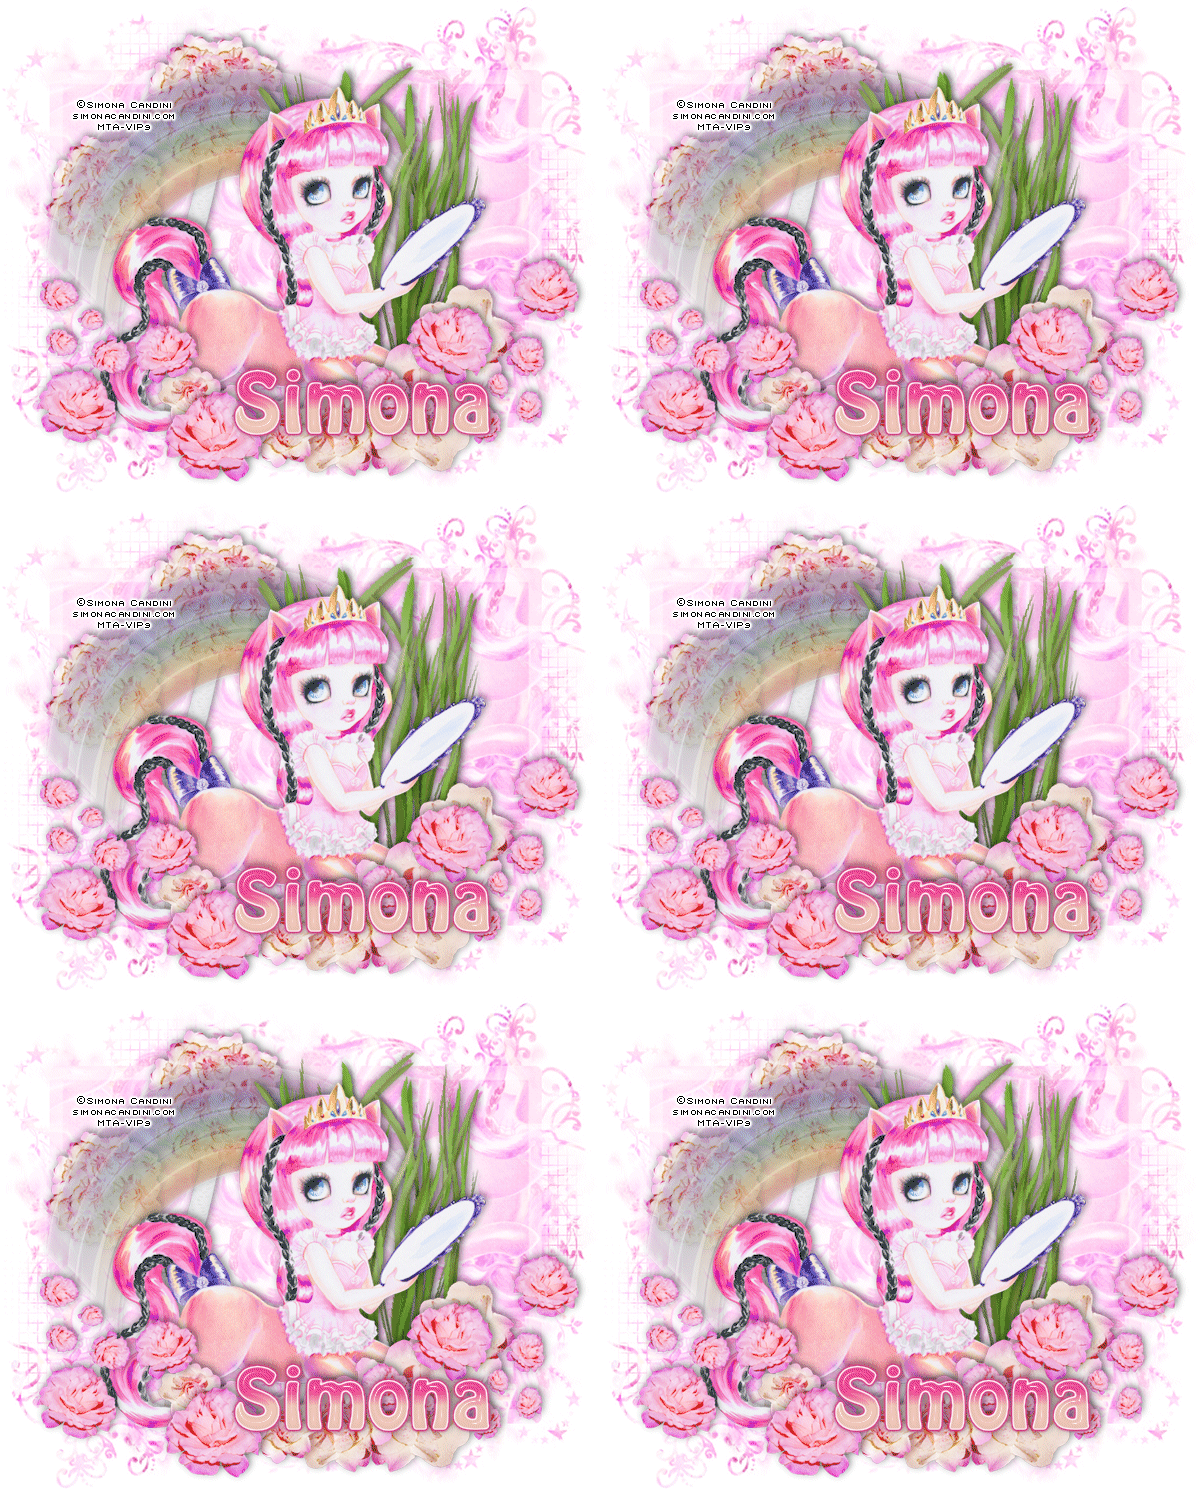
Vanity


Remember, my tutorials are only a guideline, let your imagination free :)


Materials needed:

A scrapkit of choice, I used: Lil Bo Beepers from Wicked Princess scraps

The link is down but you can download directly from her 4-shared folder
It is on page 8

A tube of choice, I used one from: ©Simona Candini @ www.mytubedart.com

A mask of choice, I used a mask from Zuzzanna: Mask8

A filter: Mura's Meister Copies

And (optional) animation shop


Let's get started.

Open your tube in PSP

New image, 750x600 white. ( you can resize later I like to work big)

Select all, new layer

Copy paper6 and paste into selection.

Select none.

Copy your tube and paste as a new layer
Mura's Meister copies: Wallpaper rotate, default settings.
Set blend mode to screen en merge layers visible.

Apply mask8 from Zuzzanna, merge group.

Now add your elements of choice.
I used:
WP_LBP_ROSETREE
WP_LBP_RAINBOW
WP_LBP_TALLGRASS
WP_LBP_ROSESWAG
WP_LBP_ROSECLUSTER2

Add your tube and give everything a dropshadow you like.
Hide the white layer in the layer palette
Crop image merged opaque.
Unhide the white layer
Now first resize before you add the correct copyright & license info.
I resized mine to 600 width.
You are done! But.......

If you want to animate the grass, copy it from your tag and paste as a new animation in 
Animation shop.
Effects: insert image effect
Choose underwater.


Remove the first frame of your animation.
Select all.
Now go back to PSP.
Make all layers above the grass layer invisible.
Activate the background layer and merge visible.
Make this layer invisible and the others visible again
Now merge the visible layers so you end up with 2 layers.
Copy the bottom layer and paste into animationshop as a new animation, 
Duplicate this frame as many times as you have frames of your grass layer.
In my case I have 9 frames.
Copy and paste the grass animation into selected frame, ( make sure you have selcted all 

frames)
Go back to PSP, copy your upper layer, paste as a new animation in animation shop.
Copy ( make sure you have propogate paste on in AS) and paste into selected frame
And Voila all finished
I hope you enjoyed the tutorial

©JustSan 8-Jun-2013
maandag 15 april 2013

Beauty and the Beast


Remember, my tutorials are a guideline only, let your imagination free.

Materials needed:
A scrapkit from A space between

A tube or image of choice
I chose one from ©Simona Candini  @ www.mytubedart.com

Let's begin
The scrapkit is really large so we have to resize a lot.
Sharpen when you feel it is needed.
I started big with a new image 800x800

Copy element26, paste as a new layer.
Resize 35%, Resize 60%

Copy element5, paste as a new layer.
Resize 35%, Resize 60%

Copy element4, paste as a new layer.
Resize 25%, Resize 60%
Move to the right bottom of the frame.
Layers duplicate, mirror.
Merge these 2 layers, move this layer behind the frame layer.
Keep this layer active.

Copy element3, paste as a new layer.
Resize 35%
Move a little to the right.
Duplicate this layer, mirror and merge these 2 layers.

Activate the frame layer.
Copy element15 and paste as a new layer.
Resize 35%, resize 60%.
Move to the bottom left corner of the frame.
Layers duplicate, image mirror, merge these 2 layers together.

Copy element38 and paste as a new layer.
Resize 35% and again 35%.
Move a little to the left ( see my tag for positioning )

Copy element9 and paste as a new layer.
Resize 35% and again 35% and then again with 60%
Move to the bottom left corner of the frame.
Layers duplicate, image mirror.
Merge these 2 layers.

Copy element36 and paste as a new layer.
Resize 35% and again with 35%.
Move it into the middle of the red roses.

Copy element8 and paste as a new layer.
Resize 35%, again with 35% and 60%.
Move it to the middle of the red roses but move it a bit more down
( see my tag for positioning )

Now it's time to add your image/photo, you can use a tube too, choose a paper instead and then add your tube.
Activate the frame layer.
Select the inside of the frame with your magic wand, 
selections expand 8 pixels.
Make a new layer beneath your frame layer.
Copy your image and paste into selection**

**Be careful when pasting images or photos into selection, they may get deformed or stretched
and it doesn't look very pretty.
This image I used is deformed slightly but it still looks ok.
If your photo or image doesn't fit that frame you just paste your image/photo as a new layer underneath the frame layer, selections invert and hit delete.

Give everything a dropshadow you like, Crop your image merged opaque, 
Add the correct ©info, your license number and name after you have resized
Save as JPG or export as PNG

Below is another example with a photo from
©Chelle Photography @ www.mytubedart.com


©JustSan 15-Apr-2013